I know ... I know ... since I talk about fermented foods so much you probably think that I make them all the time. NOT!
Actually, I DO maintain water kefir grains and make Coconut Water Kefir on an almost daily basis. But my three-year-old dearly-loved (they were like pets; I asked them how they were every day) culture broke all over my kitchen counter a couple of weeks ago.
I was sooo sad! But instantly ordered new grains. And will be making the whole kebosh from scratch and filming it. It'll be ready available during the first week in August on my many channels ... YouTube (The Good Gut Queen), LinkedIn (Dietitian Jill Place), and in my Facebook Good Gut Group among others ... and beyond.
And I will be publishing a ton more fermented food recipes here. So why am I so gaga over them?
Well ... pure and simple ... they saved my life. Y'see ... I've had leaky gut almost my whole life. Massive doses of antibiotics in my 20's for a condition that turned out to be misdiagnosed all but decimated my microbiome (AKA gut).
So I ended up with massive doses of constipation FOR YEARS! Actually ... it was what started me down the path toward alternative medicine. Because my doctor ... not knowing what to do ... wanted me to have a hysterectomy. At age 27?
I said no. And am forever grateful for that. But STILL had this HUGE problem! Pure and simple ... I couldn't poop anymore. I tried everything ... laxatives, herbals, you name it.
I still use some supplements. But have refined my regimen to include fermented foods. And now can't do without them.
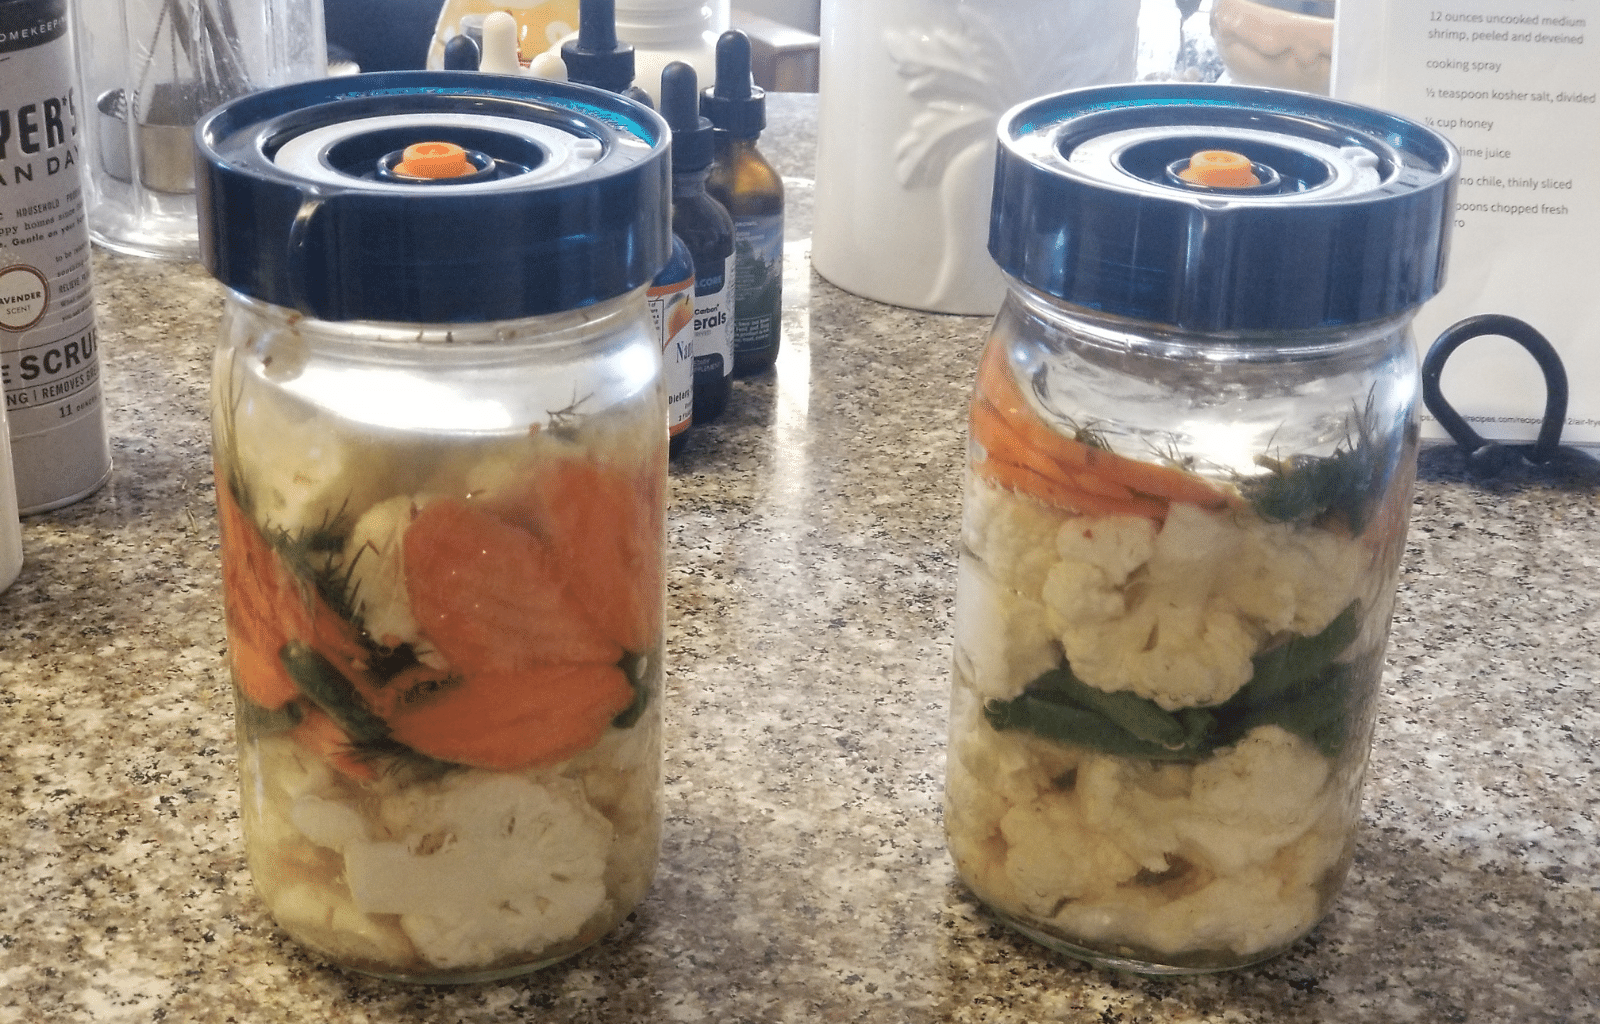
I've tried a TON of jarred veggies ... but NOTHING tastes like this. And it was SO EASY! But you have to have the right tools. So I headed to Michaels DIY store for Kerr jars. And bought some Easy Fermenter lids and glass weights from Amazon.
This made the whole process so easy I'm doing it again and again. And possibly they'll be my first affiliate. Because they keep checking in with you via email to make sure everything's going right ... who does that?
I used the lids because ... like the kefir once you bottle it ... you have to burp the unrefrigerated bottle every day to make sure that the jar doesn't explode. And you run the risk of mold developing. This is a much better solution.
Also ... you need glass weights to weight down the veggies so that they ferment evenly. After all that ... the process is simple. Here it is ...
Think fermented foods are hard to make? Think again! These vegetables are the best-ever ... and super-simple with the right tools. A forkful a today keeps dis-ease away ... and your gut healthy too!

Place garlic in the bottom of a clean, wide-mouth quart jar. Layer the cut vegetables, pressing down to fit as many as you can up to the shoulder of the jar (1 to 2 inches headspace is VERY important).
Add any seasoning to the contents of the jar.
Dissolve the salt in the water and pour over the vegetables inn the jar until the top vegetables are vegetables are barely covered (you will not use all the water-salt brine). Use a thin plastic spatula around the sides of the jar to release any air bubbles.
Use a weight to keep the vegetables under the brine and attach the Easy Fermenter lid (or a regular lid).
Ferment at room temperature (60 to 70 degrees is ideal) for about 5 days, tasting to see if they are your desired flavor and texture. If using regular lids, burp daily to release excess pressure.
Once the vegetables are finished, move to the refrigerator with a regular lid for storage - the flavor will continue to develop.
These will keep in the refrigerator for almost two months. The water will get cloudier but the veggies will still be GREAT!
Ingredients
Directions
Place garlic in the bottom of a clean, wide-mouth quart jar. Layer the cut vegetables, pressing down to fit as many as you can up to the shoulder of the jar (1 to 2 inches headspace is VERY important).
Add any seasoning to the contents of the jar.
Dissolve the salt in the water and pour over the vegetables inn the jar until the top vegetables are vegetables are barely covered (you will not use all the water-salt brine). Use a thin plastic spatula around the sides of the jar to release any air bubbles.
Use a weight to keep the vegetables under the brine and attach the Easy Fermenter lid (or a regular lid).
Ferment at room temperature (60 to 70 degrees is ideal) for about 5 days, tasting to see if they are your desired flavor and texture. If using regular lids, burp daily to release excess pressure.
Once the vegetables are finished, move to the refrigerator with a regular lid for storage - the flavor will continue to develop.
These will keep in the refrigerator for almost two months. The water will get cloudier but the veggies will still be GREAT!


Leave a Reply