Where I live, yogurts made with alternative milks (i.e. almond, cashew, oat, etc.) are as plentiful in regular groceries as typical dairy ones. But I live in Southern California ... full of bleached teeth and tons of tiny butts running in tandem on highway medians or glistening beaches.
Where you are ... however ... these yogurts may not be so health-accessible. Therefore, I love the idea of making your own coconut yogurt. As a matter of fact, this often sits on the counter along with my coconut water kefir.
So ... even with stores bulging with all kinds of all packaged fermented foods ... I searched for a super-easy way to do that. And found this ...
Super-easy ... super-special ... and actually much cheaper than buying the packaged kind. I've done my own in a yogurt maker ... but it's a little complicated and I don't like the texture as you have to add pectin ... which stiffens it considerably.
This is SOOO simple ... just add some probiotic supplement (I've given you four alternatives ... two powder and two capsule [one's even really reasonable] ... in my Fullscript apothecary ... CLICK HERE to get them) to some canned coconut milk (or use coconut yogurt for a starter ... instructions are below).
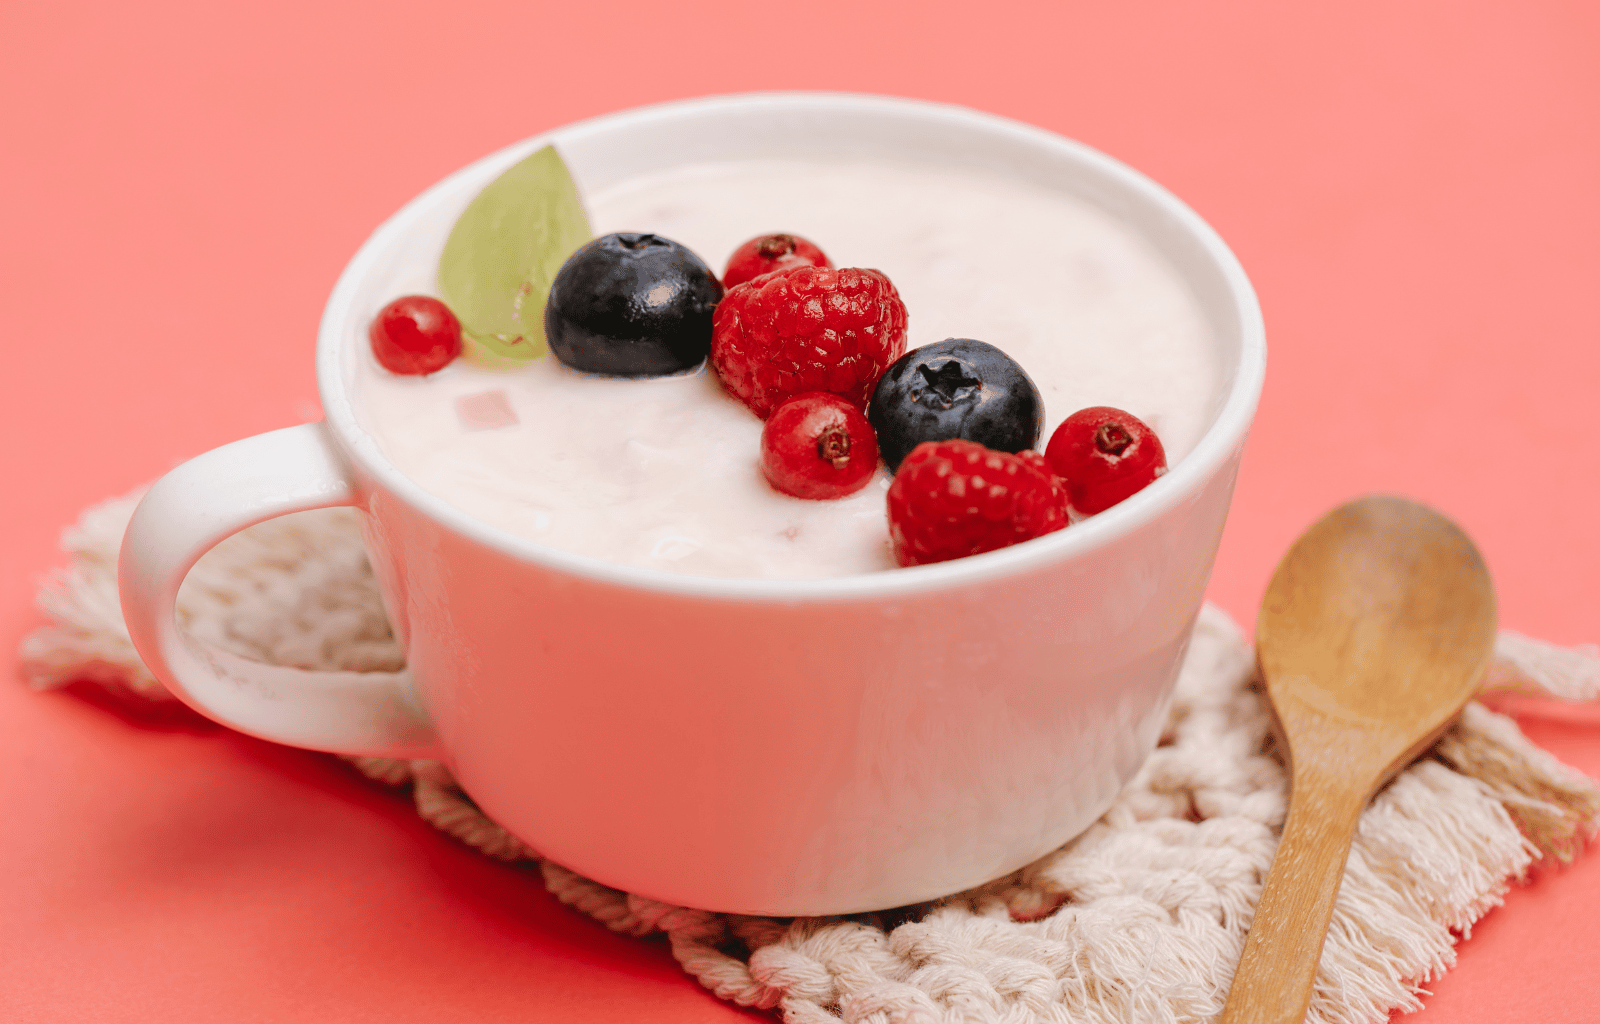
Wait 12 to 24 (what I usually do) hours ... then enjoy! This is VERY RICH yogurt ... I use a couple of tablespoons in my morning Paleo Granola with berries or other fruit. YUM!
A super-simple, super-special, super-scrumptious GUT-FOR-YOU 2-ingredient coconut yogurt that takes less than 5 minutes to do!

Open the can of coconut milk and blend in a blender, use an immersion blender, or whip with a whisk. Otherwise, you may get lumps of coconut fat in your final product.
Add the probiotic supplements (use the recommended amount of supplement of at least 15 billion CFUs; if you're using capsules, add only the powder and discard the capsules). Mix well.
I like to put this in a quart Mason jar and cover with a coffee filter ... the same ones I use for my water kefir. But you can put in any container and cover with a cheesecloth, a napkin or any other piece of cloth, and let it sit in a dark, cool room for at least 12 hours (I usually let it sit 24 hours). The longer it ferments, the more acidic it will be
Add a sweetener of your choice and stir (optional). When the yogurt is ready, keep it in a sealed container (I just remove the filter and cap the jar) in the fridge for up to 4 days.
If you can't or don't want to use probiotic supplements, add 3 tablespoon of any store-bought coconut or plant based yogurt to the coconut milk mixture (make sure it says "active cultures on the container) and skip Step #4. Proceed with Steps #5 and 6 as written. You can then use the results as a starter for your next batch if you'd like. Me ... I'd try both to see which one you like best consistency- and taste-wise.
Ingredients
Directions
Open the can of coconut milk and blend in a blender, use an immersion blender, or whip with a whisk. Otherwise, you may get lumps of coconut fat in your final product.
Add the probiotic supplements (use the recommended amount of supplement of at least 15 billion CFUs; if you're using capsules, add only the powder and discard the capsules). Mix well.
I like to put this in a quart Mason jar and cover with a coffee filter ... the same ones I use for my water kefir. But you can put in any container and cover with a cheesecloth, a napkin or any other piece of cloth, and let it sit in a dark, cool room for at least 12 hours (I usually let it sit 24 hours). The longer it ferments, the more acidic it will be
Add a sweetener of your choice and stir (optional). When the yogurt is ready, keep it in a sealed container (I just remove the filter and cap the jar) in the fridge for up to 4 days.
If you can't or don't want to use probiotic supplements, add 3 tablespoon of any store-bought coconut or plant based yogurt to the coconut milk mixture (make sure it says "active cultures on the container) and skip Step #4. Proceed with Steps #5 and 6 as written. You can then use the results as a starter for your next batch if you'd like. Me ... I'd try both to see which one you like best consistency- and taste-wise.


Leave a Reply